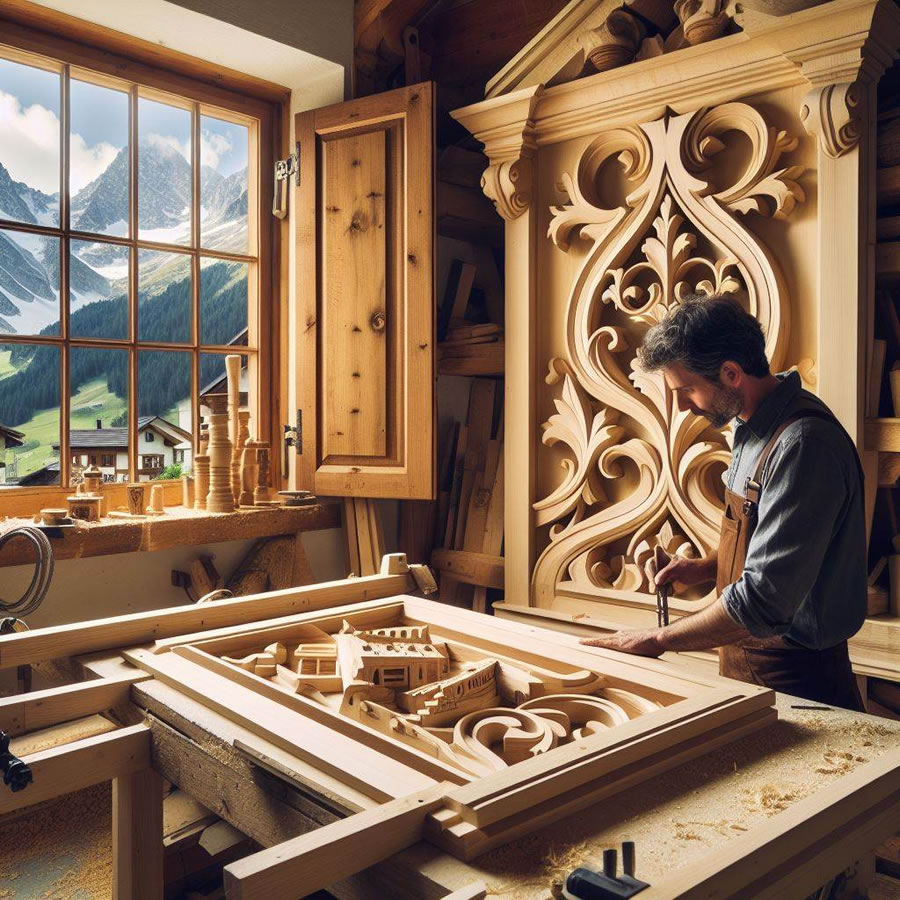
When it comes to enhancing the charm of your cabin retreat, attention to detail can make all the difference. One simple yet effective way to add character and rustic appeal to your cabin's exterior is by installing decorative shutters. These charming accents not only enhance the aesthetic appeal of your cabin but also provide practical benefits such as privacy and shade. In this guide, we'll walk you through the steps to create your own cabin decorative shutters, adding a touch of handmade warmth to your woodland abode.
1. Gather Your Materials

Before you begin crafting your decorative shutters, gather all the necessary materials. You'll need:
2. Measure and Cut the Wood
Measure the windows of your cabin to determine the dimensions of your shutters. Use a saw to cut the wooden planks to the desired length and width, ensuring that they fit snugly against the window frame.
3. Sand and Stain/Paint the Wood
Once you've cut the wooden planks to size, sand them thoroughly to smooth out any rough edges and create a uniform surface. Next, apply a coat of wood stain or paint to the shutters, choosing a colour that complements the exterior of your cabin. For a rustic look, consider opting for a weathered or distressed finish.
4. Create the Shutter Design
Get creative with the design of your decorative shutters. You can go for a classic look with simple horizontal slats or add decorative cut-outs or carvings for extra visual interest. Use a saw or chisel to create any desired patterns or designs on the wooden planks.
5. Attach the Hinges
Once the stain or paint has dried, it's time to attach the hinges to the shutters. Position the hinges along the vertical edges of the shutters, ensuring that they are evenly spaced and aligned with the window frame. Use a drill to secure the hinges in place with screws.
6. Install the Shutters
With the hinges attached, it's time to install the decorative shutters on your cabin windows. Position the shutters against the window frame and secure them in place by screwing the hinges into the frame. Make any necessary adjustments to ensure that the shutters open and close smoothly.
7. Add Finishing Touches
Once the shutters are installed, step back and admire your handiwork! You can further enhance the rustic charm of your cabin by adding decorative hardware such as wrought iron hinges or shutter dogs. Consider also adding window boxes or planters filled with colourful flowers to complete the charming look.
With these simple steps, you can create custom decorative shutters that add personality and warmth to your cabin retreat. Embrace your creativity and infuse your woodland abode with handmade charm that reflects your unique style and love for rustic living.
Author - Martin Corby
Posted - 07 Feb 2024
Disclaimer: This information is subject to change and as such, is provided for informational purposes only and does not constitute professional advice. Readers are encouraged to verify the details independently.
© Copyright 2001 - 2024 Garden Adventure Ltd